Blog Archive

Thursday, August 25, 2016

Introducing Jack's Joggers!

Remember how I said that I got to test the new Stitch Upon A Time pattern???

Well, it's done! It was released today!

The pattern includes sizes newborn to 12 years, and includes shorts, calf length, pants length, and pockets!

I tested the size 12y pattern on Miss Lena. She loves them! I do too! Now that testing is over I cannot wait to make the other kiddos some too!


This was my first opportunity to test a pattern, and I really hope I can test another one soon. It was so fun! Lena and I both had a blast.

Head on over to SUAT and get your copy of Jack's Joggers! Use the coupon code JacksJoggers30 for 30% off through 8/31/16.

Let's Make Leggings!!

Let's be real, leggings are a needed part of any wardrobe. 

I wear them under dresses to keep from flashing the world as I'm up and down with the babies. I wear them with long shirts to make a perfect outfit. I wear them to workout in. Aaaand I wear them just to wear them, because leggings.

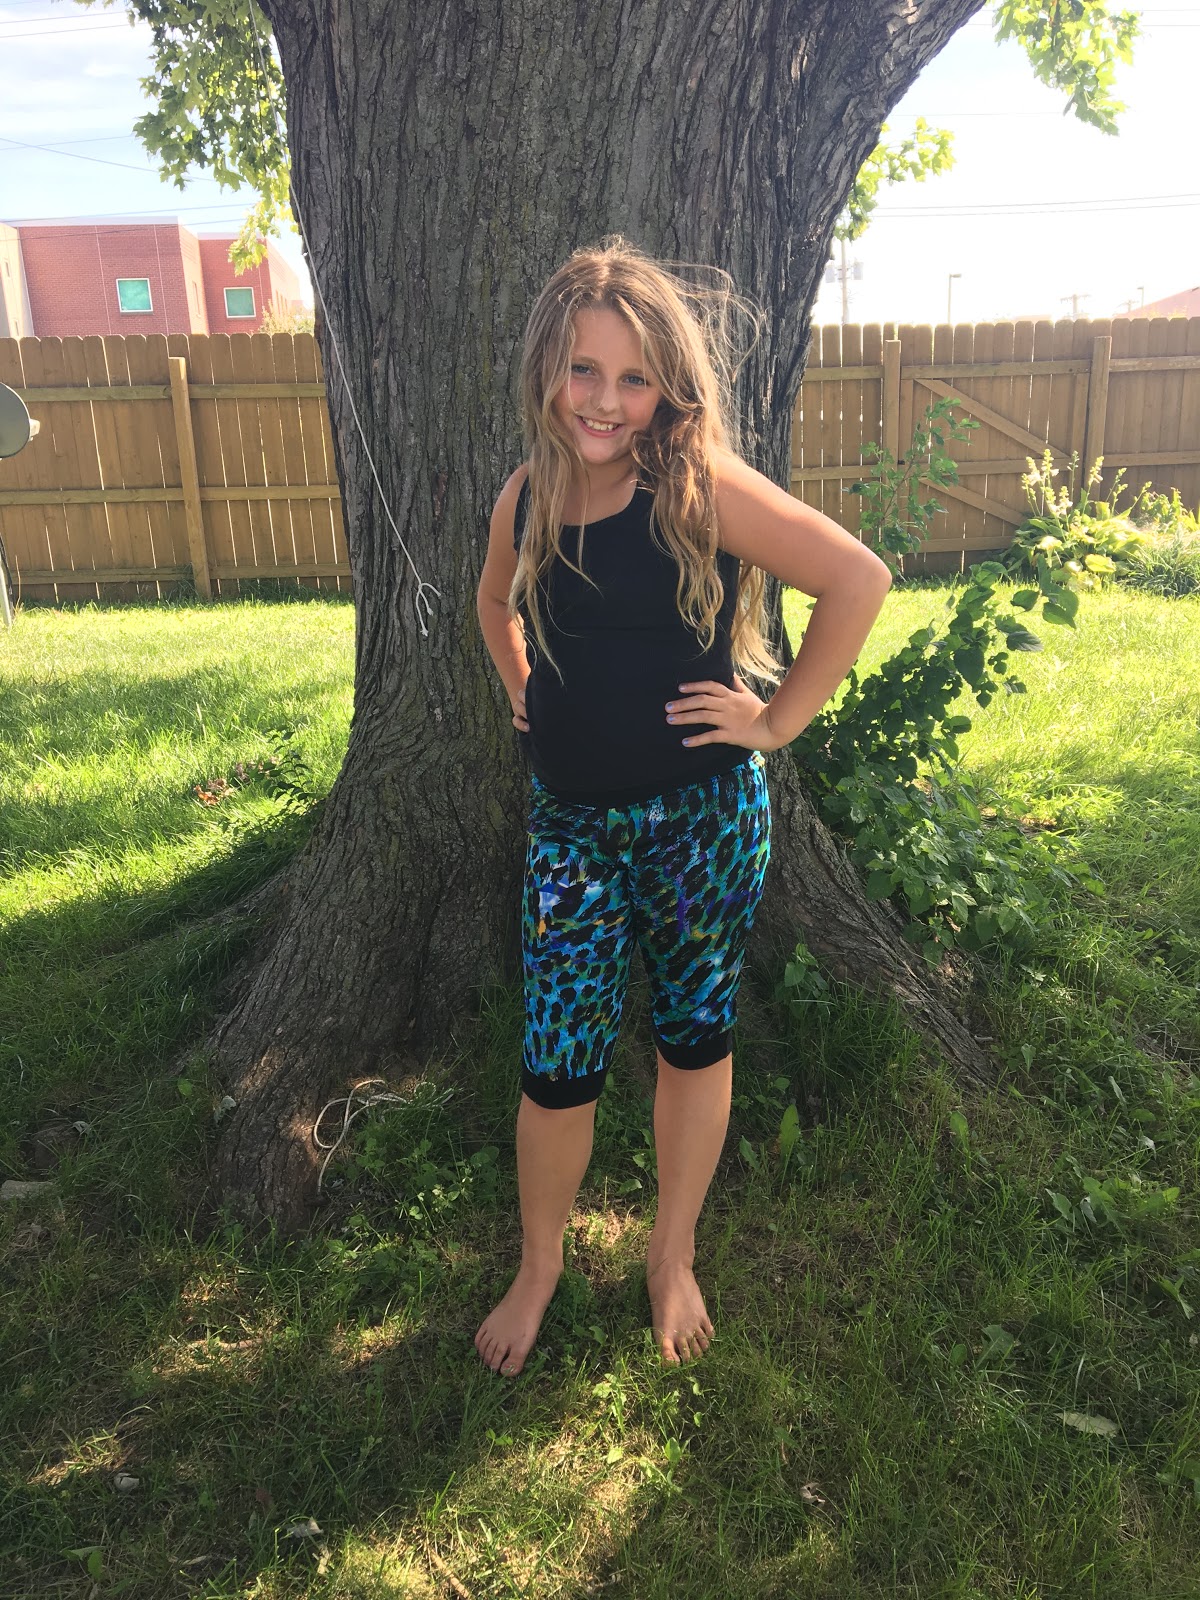
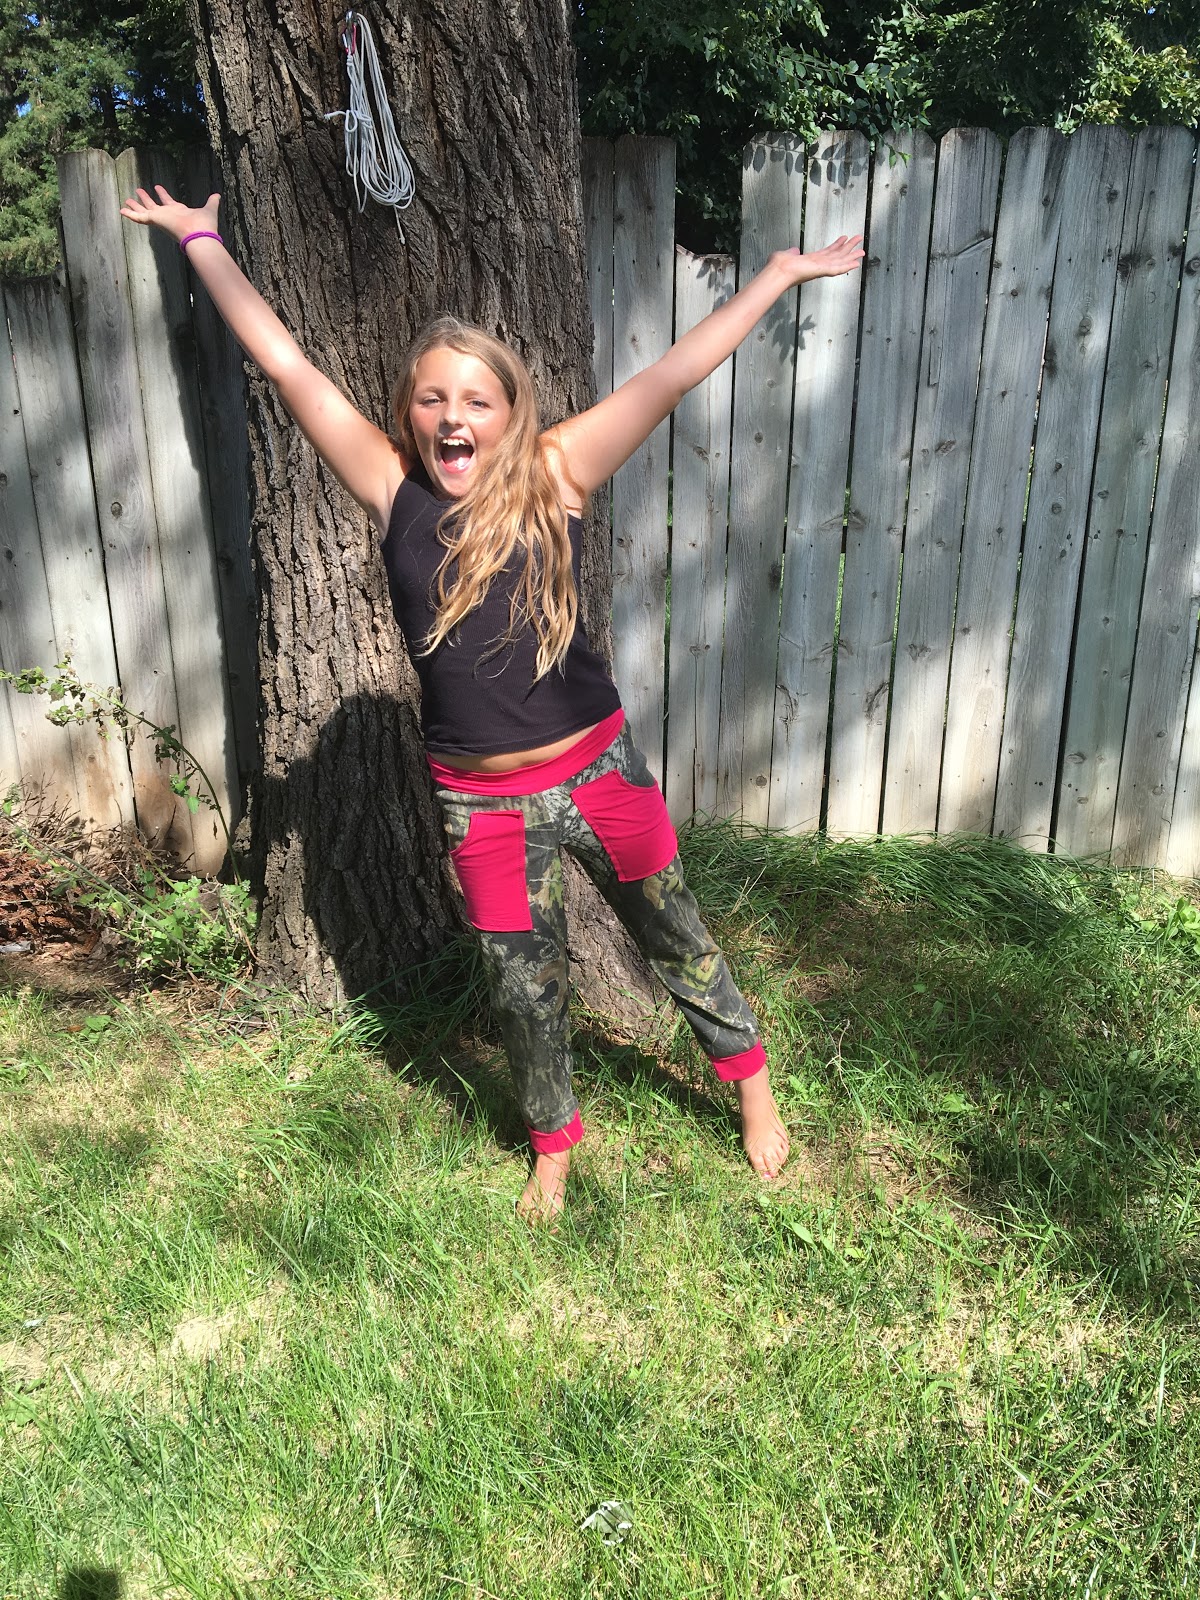
Making your own is super easy and fun! You can make in any print or color you want!

I am going to be using the Peg Leg pattern from Patterns for PiratesBonny Legs from Made for Mermaids is a girls pattern that goes together the same.

Print and assemble your pattern, and pick out and prep your fabric. 

You will want nice and stretchy knit fabric with 4-way stretch, meaning it stretches both with and against the grain. Fabric with at least 5% Lycra/spandex should be used for at least the waistband to keep them up.

For a refresher about cutting your fabric look here.

Cut your pieces out. You should have 2 legs, cut mirror images, and 1 waistband.


When I sew, I always have the directions for the pattern pulled up on my laptop or ipad so i can follow along as I go. 

Instead of doing a memory hem first, I go ahead and hem the legs first.

I measure 1 inch from the bottom and fold the bottom edge to meet the 1 inch mark.
 That creates a 1/2 inch fold.
 Then sew it up with a stretch stitch.

For hemming I use #01, which is a straight stretch stitch. For all other seams I use #10. If you do not have either of these stitches you can use a regular zig zag stitch, or look in your machine's manual for the best stretch stitch to use.

Next, you will sew up your leg seams, as per the directions, with right sides facing. Easy peasy. You need to use a 1/2" seam allowance. Use the markings on your machine to guide you.


Legs all sewn up, now you need to cut off your seam allowance. This will keep your seams from being too bulky.

Now turn one leg right side out, and put the 1 leg that is right side out inside of the other leg lining up all the edges. I missed the flipping of 1 leg on my first pair and ended up with funky looking pants!


Sew up that curved seam, as per the directions, and trim off your seam allowance. Eek! ALMOST DONE!!


Sew up the short sides of your waistband with right sides together. Trim seams. Then fold the band so the wrong sides are together.

To mark the band in quarters put a pin on each end and fold it in half. Put a pin on each side of the middle fold. When you unfold it, you will have your quarters.


To mark quarters on your pants, pull the front up so that the top edges match up. Place a pin on the front and back seam and one on each side.


 Put the waist band around the pants (right side out) lining up the raw edges and your 1/4 pins. You will want to line up the seam of your band with the seam on the back of the pants. The waist band is going to be smaller than the pants. That's how they will stay up when you're wearing them! You will need to stretch the band to fit as you sew, which is very hard to get a picture of! It won't look exactly like my picture when you stretch, but similar. On this step, I use the free arm feature of my machine to loop the fabric around and sew in a circle. Trim seams.


Now you're Done! You made leggings!! Woohoo!!! I knew you could do it!!


PS
It's ok if you made mistakes. I have made a bunch of these, and I messed up too!! That's how you learn!

I had my bobbin come undone and ended up with a funky loopy hem. I also ended up putting the band seam on the side instead of the back. Whoops!!


Tuesday, August 23, 2016

It's cheaper to make your clothes, right?

There is a complicated answer to that question.

It all depends on the fabric you buy and where you get it. Fabric can be expensive!

When I first started sewing it was winter, so I used fleece to make the babies outfits. I stocked up during Black Friday sales at Joann Fabrics. I was able to get them each 2 complete outfits and 2 pairs of pj pants for $36. Heck of a deal!


Fast forward to Spring and making myself a few dresses. I stocked up on fabrics every week when Hancock was closing! To make myself a maxi dress I needed 3 yards for the skirt and 1 yard for the bodice. My favorite dress the skirt fabric was $8/yd and the bodice fabric was $6/yd, so $30 for what I needed for that dress. Not bad!


In those examples, it really was cheaper to make the clothes than to buy them, but it is not always like that.

Something I have learned over the last several months is that 90% of the time you get what you pay for as far as fabric quality goes.

I am cheap. I don't like spending double digits on anything. CHEAP! I have learned how to be thrifty when buying fabric to keep costs down, but it is not that easy.

It's easy to stumble across a custom fabric group on social media or etsy and drool over fabric until you just HAVE to have it. Most custom fabric groups sell excellent quality fabrics. That means you also pay more. Those pretties can cost between $15 and $30 (or more!) per yard! Think about making a maxi with those. That's $60-$120 to make a dress! You can go to Target and buy a maxi for $30.

You also have to factor in the cost of thread and any other supplies you may need for your project, like elastic, snaps, buttons, new machine needles, etc.

Your time also is worth something! This is something to consider if you are wanting to sell the things you make. 

Let's go back to my $30 maxi. That dress took me roughly 2 hours to make. It is standard to have a rate of $10-$20+ per hour for your services. That would make my $30 dress worth $50-$70+ if I had made it to sell. This is why many handmade items on etsy seem to have outrageous prices. When you look at it this way, those prices don't seem quite so outrageous anymore. 

Now, if you're still with me, let's talk about how to get some good deals on fabric!

First off, COUPONS! 

If you have a Joann Fabric near you sign up for their email, text, and mailing lists. At the end of the year they sell a calendar that you should buy too. Around December the price of the calendar goes from $9.99 to $4.99. It has an excellent coupon for each month included, and it really is a nice looking calendar.

Joann's lets you combine all your coupons! You can use your text coupon, plus your email coupon, plus your paper coupons! Say you have 2 emails with coupons in them, you can use both of those too, because they have different numbers on them! In my experience, the ladies there will help you to use your coupons to save you as much as they can. Online you can only use 1 coupon at a time.

If you are shopping online, ALWAYS check Retail Me Not or Facebook groups for a coupon for the website you're on before check out!

SALES!

Coupons are great, but sales and clearance can be amazing!

Keep your eyes open online and in stores for some good sales going on. You can save 50%-70% with sales! Clearance fabrics are typically the seasonal types, so you can save by buying those fabrics now for next year!

You find most of the best sales around a holiday. Any holiday really.

I don't get a chance to go out shopping often, without the babies at least. I buy a lot of fabric online from Fabric.com. I always look at sales and clearance fabrics using the filter option to see just the types of fabrics I am looking for, and then sort from lowest to highest prices. Keep in mind you get what you pay for. In the description if it says that the fabric is very light weight I will skip over it because I know that is paper thin and hard to work with. 

Fabric.com also offers a bulk discount on many of their fabrics. This is wonderful when buying solids or a print that you can't live without!

Phew! I know that was a lot of information, and the question at hand is not completely answered, but I hope you learned a few things, and you're ready to go buy some fabric! 


*Disclosure: some included links are affiliate links helping to earn a few pennies to keep the sewing going.*


Exciting News!!

I got chosen for the opportunity to test a new pattern for Stitch Upon A Time! I cannot wait to share it with you when the pattern is released! 

Stay tuned!!

Friday, August 19, 2016

Getting Started

So you want to learn to sew, huh? GREAT! Its easy to get started. I promise. 

What you NEED to get started:

Sewing machine. Super basic is fine!!
Thread. 
Scissors.
Pins.
Pattern.
Fabric (prewashed exactly how you plan to launder your garment once its completed.)


That's it!


You don't need any fancy machines or gadgets to get started. Many patterns will say to serge things, BUT you can use a zig-zag stitch on your regular sewing machine instead.


Things that are super nice to have:

Cutting mat.
Rotary cutter.
Clear ruler.
Wonder Clips.
Pen and paper.


Got your stuff?! Lets get started!

First things first, cut out your pattern (NOT WITH YOUR FABRIC SCISSORS!). If you are using a PDF pattern you will need to print it and tape it together first. MOST pattern designers include a tutorial of how to tape their patterns together in the pattern file.

Now you're ready to cut your fabric!

Before I cut I make little tags out of paper that say what each piece is and what pattern it goes to. Helps to keep things organized, especially if you are going to be cutting more than one pattern out at a time. No mix ups!

To cut your fabric, lay it out on a large surface. I use my kitchen table, but you can even do it on the floor.

Your pattern pieces should tell you which way the grain line should go, or which direction the stretch should go.

Grain line will run parallel to the selvedge of your fabric.

Stretch will be perpendicular to the selvedge.

Look over your pieces to be sure you lay them the correct way on your fabric.

Note that some pattern pieces may require you to cut on the fold. What this means is that you will fold your fabric over and place the side of your piece that says fold on the fold line to cut.

Some pieces, like sleeves or pant legs, may say to cut 2 mirrored. To do this you simply cut one with the words on your pattern facing up, and then you cut a second with the words facing down. you can also fold your fabric over and cut through both layers of fabric at once, cutting off the fold. This way uses up a bit more fabric.

You also want to be sure, BEFORE you cut, that the direction of your print is going the correct way. I may or may not have made a few things for the kids with the print going the wrong way because I didn't pay enough attention...

Look closely at the back of her shirt...

Now cut!

Using scissors, I will pin the pattern piece to the fabric and cut it out that way.

Using a rotary cutter and mat I use pattern weights (ok, whatever is close by and heavy enough...) to hold my pattern piece down while I cut it out.

Pin your piece tags to the pieces as you cut each one out.

There! The worst part is done!

Now onto your machine...

Consult your manual to be sure you have your bobbin and needle threaded properly.

Check your needle. Sewing with knit (stretchy) fabrics you will want to use a ball point needle. Woven (not stretchy) fabrics should be done with a universal needle.

Now you're ready to go! Follow the directions for your pattern on how to sew each piece together, and when you're done show me what you've made! I can't wait to see!

Next time, we will make something together!


Thursday, August 18, 2016

Fun Fact #2!

Fun Fact #2!

I do all my sewing with just a sewing machine! This is my new "fancy" one, but I started off with a super basic machine that only did straight and zig-zag stitches. It worked great!

Don't get stressed out if you hear about needing a serger or any other machines for making your own clothes, bags, blankets, toys etc. You don't NEED it. After you get started sewing you may want one really bad though!! I'm crossing my fingers for one from my husband for my birthday/anniversary/Christmas...

Wednesday, August 17, 2016

"Old" Favorites

It is so hard to pick just a few of my favorite patterns/projects that I have done!

I started out just sewing things for my kiddos, primarily the twins. Babies grow soooo fast! They are always needing new clothes! One solution I found to their outgrowing of clothes was Maxaloones by Max and Meena. Their size 1 goes from about 6 months to 3 years! The waist and legs roll to make them bigger or smaller. I chose to make the twins a few pairs of these out of fleece for Christmas last year so their winter wardrobe would be stocked with pants for a couple years. The pattern is so easy to follow, so it made a great second project!


They're also really cute with the optional bum circle to make room for fluffy cloth diaper butts!

To go with them my favorites are the Yacht Tee from Max and Meena and the free hoodie pattern from Brindille Twig. Both are super simple, and great for starting out. As you can see from the pictures, they look better with the more practice you get, but everyone has to start somewhere!


For some Mama sewing I fell in LOVE with the Brazi from Stitch Upon A Time! I made myself 7(!) of them for this summer. My favorite style is the Maxi with the crossover front add-on. I have to admit, there was a bit of a learning curve for me when it came to trying the cross front. 

This pattern is EXTREMELY versatile, which is why I love it so much. There is also a girls version called the Aurora. I used this pattern to make myself and the girls swim suits for the summer, matching big sister/little sister dresses, and just this week I used it to make an awesome workout top that I will be doing a bit of a tutorial on later.


How cute are those teeny bikinis on Miss Madelynn?! Lena has lived in hers mama made suits and dresses all summer. She even begged me to make her another one to bring with her to camp! I couldn't say no!


How bout undies?! Yep! There's a pattern for you to make your own undies too! Once again, a Stitch Upon A Time pattern, called scrundlewear. You'll quickly see that SUAT is my favorite pattern designer.

I will go into more detail about scrundies at another time (We can make some together!), but I will say for certain that I will NEVER buy undies again. SO comfy! Also a very versatile pattern with several options. Thats what I used for swim bottoms for Lena and myself, though I modified mine a loooot to hold the tummy in while swimming.


Those are just a few of my favorites, so far, but I'm excited to get into the fun stuff next time! 

See you soon!!

*Disclosure: some included links are affiliate links helping to earn a few pennies to keep the sewing going.*