Blog Archive

Thursday, November 10, 2016

Hoodie Weather Is Finally Here!

Fall is finally here in full force in Nebraska!

This new Ziggi Zipper Hoodie pattern by Wardrobe by Me is here just in time!

I was jumping for joy when I got offered to test this pattern. Hoodies are my favorite! The best part about this particular hoodie pattern is that it is Unisex!
  

It comes in sizes 2XS-3XL, and has long and short lengths for you to choose from based on your preference.


I made Bobby's hoodie out of stretch (TMNT!) fleece, and mine is out of french terry. 

I am looking forward to making one out of fleece next!

Though it seems intimidating to make your own zipping hoodie, it is not near as difficult as it seems! 

Grab your pattern here

Feel free to comment or contact me using the form on the bottom of the page! I would love to hear from you!


Wednesday, November 9, 2016

*Tutorial* Removable Arm Sling Cover

Just before Halloween my poor Bubba fell off of the monkey bars at school and broke his arm right above his elbow. He had to have surgery to reset it and put pins in to hold it in place. Only having one good arm when you are 6 makes it hard to do things!

He needed pull on pants, because he could not do the button and zipper on his jeans. So I made him some! I made several pairs of Jack's Joggers from Stitch Upon a Time to start out with since they are so fast and easy. He also needed a way to stay warm without having to try and work the sleeves over his broken arm and removing the sling. Riding Hood from SUAT to the rescue!


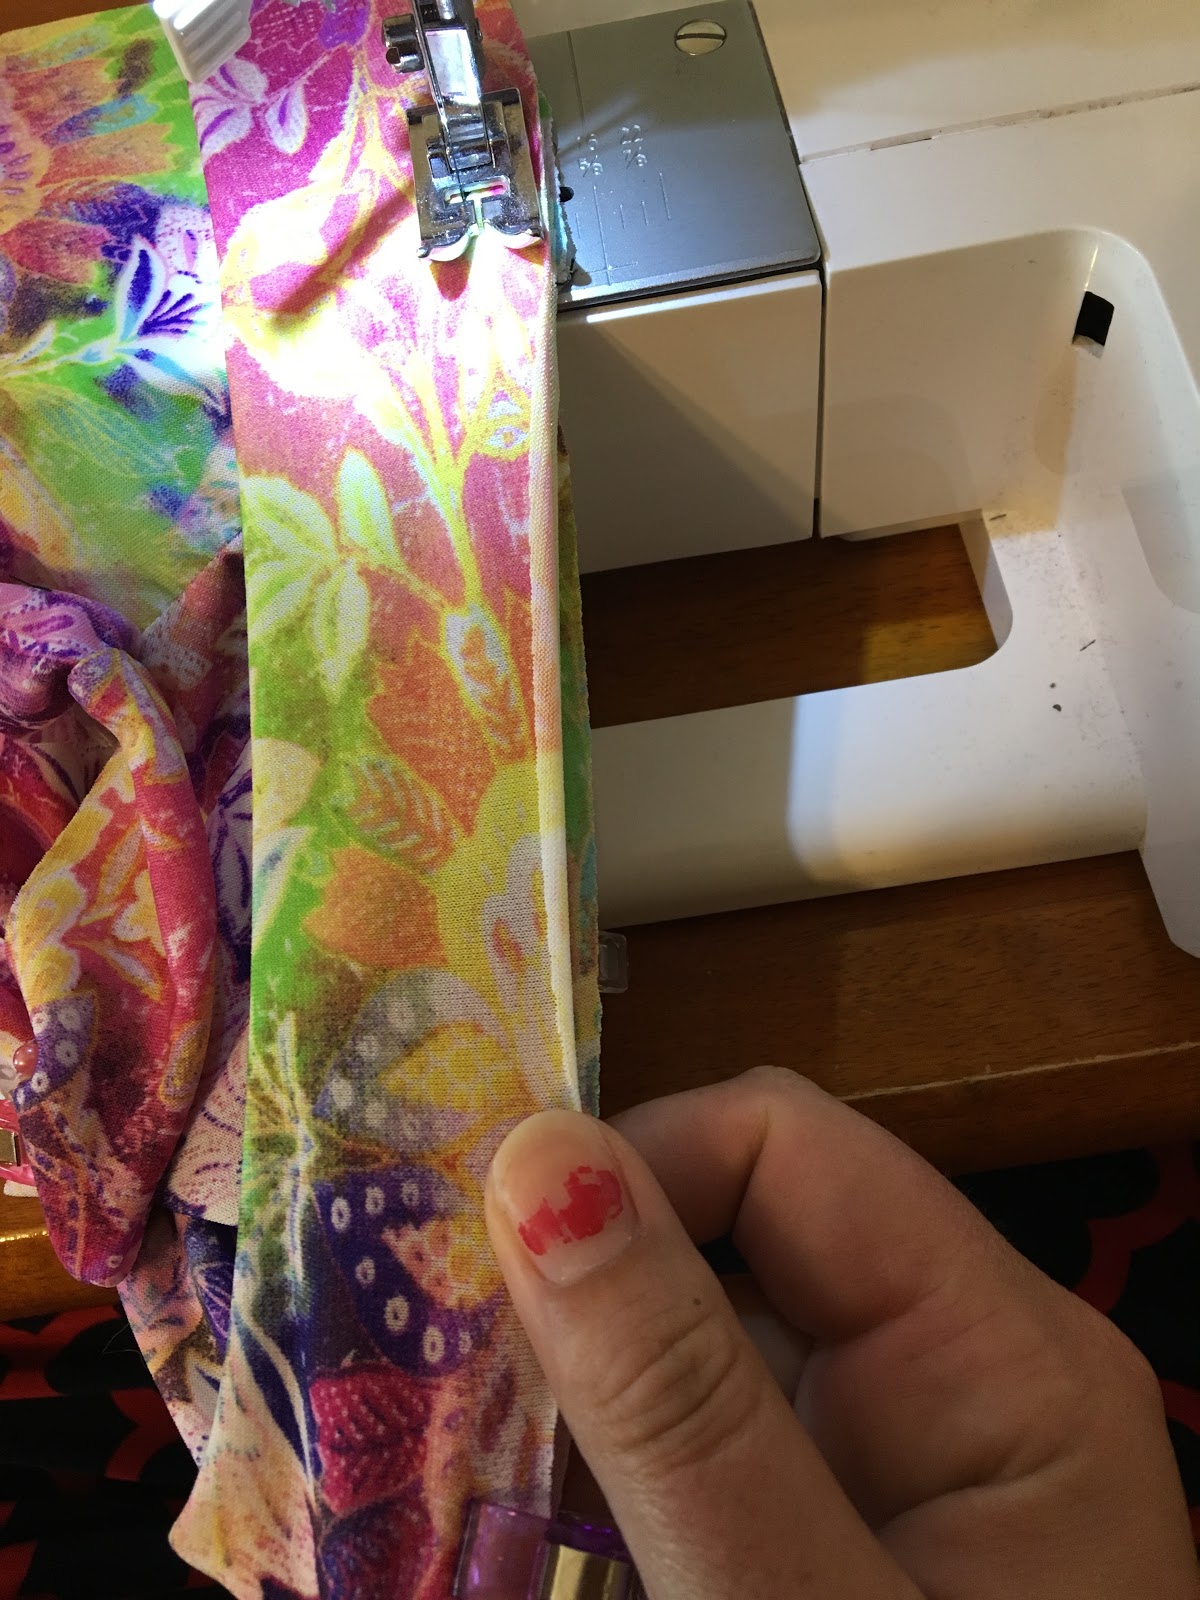
I wanted to try something a little different for another pair of pants. I added length to the Kid's Copenhagen Board Shorts to make some awesome BB8 pants! This pattern is meant for woven fabrics, so my next pair I am going to try with denim for some pull on jeans.


So cute right!?

Well, the biggest obstacle was the darn sling he had to have. He didn't want to wear it because it was embarrassing. 

Mama and her sewing machine to the rescue!


In case you find yourself in the same kind of predicament, here's how I made the sling cover:

What you need:

Pen and paper
Fabric marking tool of choice
Sling
7 sets of snaps and snap pliers (I used KAM snaps)
1/4-1/2 yard of fabric (knit or woven) depending on size.
Thread
Sewing machine (though it would be just as easy to hand sew!)

First, make a pattern by laying the sling on top of 2 papers taped together and trace around the edges.


Then I draw a line around the first line by roughly 1/2" to give you a seam allowance, and cut the pattern out along that line. 

I drew squiggly lines on my pattern showing my where the sling was sewn together to ensure I sewed up the correct sides, and directions to cut 2 mirrored images in case I forgot. 

Next, make dots where you want to add snaps to the sling cover, and mark it on the sling itself as well.


Cut 2 mirror images of your fabric.

If you are using a woven fabric, serge or zigzag stitch around the edges of both pieces to keep it from fraying.


Sew or serge along the curve you marked on your pattern with right sides facing.

I finished the seam by pressing it to the side and top stitching 1/8" from the seam.


Fold and pin the raw edges down 1/2" (or whatever you made your seam allowance), and top stitch it down.

I used decorative stitching for this step, but a regular straight stitch works just fine!


Transfer the snap markings from your pattern onto the cover, and attach the snaps.

I put the studs on the cover, and the sockets onto the sling.


Ta Da! Done!

You could just as easily make a cover and sew it directly to the sling itself by following the same steps. Pin the cover onto the sling and sew along the edges and the bottom seam.

If you make one of these I want to hear how it went! 


Tuesday, October 18, 2016

American Girls Go Camping!

With Lena's birthday coming up I had to figure out something big to make her. She was turning TEN!! She had been asking me for months for a tent for her American Girl dolls. I knew there had to be a way to make one so that it would be special for her.

Here it is!


I am so in love!! I made this using rhino canvas from here in a pink camo, because Lena loves her camo! I found the pattern on etsy from Pixie Faire Patterns. There are 2 solid walls, one wall with a window, and a wall with a door and window, and plenty of room inside for 2 besties! It folds up beautifully to fit in its own bag too!

You can't go camping without sleeping bags, so I had to make a few of those up too. Lena has 4 dolls, and I knew I wanted to make one that matched the tent. For the other 3 I asked her to just pick out 3 of her favorite fat quarters. She had no idea what I was doing with them, so she was a little skeptical, but she obliged. 

The sleeping bags were fast, fun, and easy to make! I will put together a tutorial for these soon so you guys can make a few for christmas presents!


Last, but not least, I grabbed my bag of scraps to make up some new clothes for her dolls. These were fun! They're so tiny! I cheated and did not hem any of them, and I left the neck bindings off of the shirts, because when I tried them on I don't think they would have fit with the binding on.

The top 5 are all from Max and Meena. Most of her patterns go down to preemie size, which just so happens to be perfect for dolls!

The skirt is from Peek-a-boo Pattern Shop, and the bottom shirt is a pattern I drew up to try just for fun.


I hope you all love these as much as we do!

Coming soon: Doll sleeping bag tutorial!

Monday, October 10, 2016

Introducing Floaty Florence!!

Lena and I got the pleasure of testing another pattern last week! 

Introducing the Floaty Florence by Mummykins and Me!


We found it to be a perfect choice to fair with fun print leggings!


It is a lovely flowy top that can be casual or dressy.


The best part is that it is available in sizes Newborn to 12 years, AND Women's XXS to 5XL! Mama and girls can have matching tops!!!

Bag Lady

I know you guys are waiting patiently to see what has been in the works for Lena's birthday, so while you wait check out these bags I put together!

How cute is this purse?! This was a small step out of my comfort zone, because it uses interfacing to give the bag its shape, as well as to make it much more sturdy. I learned that interfacing isn't scary at all!


This is the Laney Hobo Bag from Swoon Patterns. It's FREE! I love it so much. I will be making bunches of these!!

Bobby wanted a bag to put his work stuff in for his birthday. He typically uses a plastic grocery bag, so I knew a market bag was exactly what he needed. I added pockets inside for him to put small stuff in. The good news is that he loves it as much as I do!


The kids also wanted market bags using their fabrics that they had picked out over the summer. 


Well I was feeling left out until these bolts jumped into my cart at Joann's! Not I have a bag to carry my wine groceries in... I added a pocket inside of mine so I can throw my keys and wallet in them for a quick trip to the store.


These are the FREE Market Bag pattern from Stitch Upon A Time. I have made these out of novelty quilting cottons, flannel, and canvas. Flannel and canvas are my favorites. Very sturdy and durable! These bags are designed to fit perfectly on the bagging stations at the grocery store, and they hold a ton! 

*Coming VERY soon: Birthday surprises!!!*

Monday, September 26, 2016

SCRUNDIES!!!!

Did you know you can make your own undies?! I mean, who wouldn't want undies that match their outfits?!

I am using the Scrundlewear pattern from Stitch Upon A Time. There are lots of different options with this pattern including briefs, boy shorts, knit bands, and more.

You want a fabric with 35% stretch for the main body of your undies. You can upcycle t-shirts into undies! If you are doing knit bands you will want a fabric with at least 5% spandex/lycra for the bands so your undies stay up. Most of the time I use up scraps by making scrundies.

When you print your pattern, I would start by printing the size you would fit in based off of your measurements. A lot of times people have to size down, but it's easier to start with your measured size so you know what needs changed for the next pair. 

Once you get your pattern printed, assembled, and cut out, you're ready to cut your fabric. Follow the cutting directions on the pattern pieces. If you are doing the knit band option, the measurements for the bands are written on the pattern itself. You will not find a separate piece for the bands. If you needs some help with cutting you can look here.

I am making the knit band version of boy shorts. 14 pairs of boy shorts to be exact.


The pattern directions have you start with assembling the body first, but I start with the bands first. I feel like it goes faster this way, but I don't know if it really does or not.

Pin all your bands, with right sides together and the short sides lined up.


Sometimes machines like to eat your fabrics. To prevent this, without needing to buy a walking foot, pull the threads taught as you begin sewing. Works like a charm!


Sew together using a 1/2" seam allowance, and trim off the excess.


Next assemble the body. Lay your front piece with the right side up. Lay the back piece on top right side down, lining up the bottom. Put the lining piece on top of that with the right side down, and pin all 3 layers together at the bottom. 

Note that I do not serge or top stitch the top of the liner. Knit fabric does not fray, and I find it much more comfortable to not have the extra stitching there.


Now, pull up your back piece enough to line up the sides, and pin together.


Sew the sides and bottom using a 1/2" seam allowance, and then trim off the excess, just like you did with the bands. 


Easy peasy so far right?! Almost looks like undies already!

Here is where it gets a bit tricky, but take your time and you will do great.

Flip your lining so it goes over your seam, and pin it to your front piece with wrong sides together.


Time to get bands on!

Fold your band in half, wrong sides together, lining up the raw edges.


 Pin in 4 equal parts. The easiest way is to place a pin on the seam, and then one on the other end. Fold the band in half, lining the short sides up, and place 1 pin on each side of the fold. Unfold it and it should look like this. Repeat for both leg bands and waistband.

We need to mark 4 equal places on the body now to. Lay them flat, and then line up the raw edges of the leg hole. place a pin on each end, and then fold in half to mark the center, just like we did with the bands. Repeat for the other leg, and the top.


To put the band on, slide the band over the body, with right sides facing. Line up your 4 pins, and pin in place. Your band will be smaller than the hole, so don't panic, you haven't messed up.


To attach the bands you will need to stretch the bands while you sew so they line up with the body. Be careful here not to stretch the fabric of the body. Go slow and keep checking that you are sewing through all the layers. 


Once you attach your bands trim off your excess seam allowance. 

Guess what?! You're done! Aren't they cute?! 


I can't wait to see what everyone makes! The sky is the limit with this pattern!

Coming next: See what I'm making for the upcoming birthdays in our family! American Girl dolls will rejoice!